Here are simple, step-by-step instructions for adjusting the arm circumference of a gathered raglan sleeve. If you find sleeves tend to be tight around the upper arm, use this adjustment to add the perfect amount of ease to achieve a comfortable fit your body.
The method is demonstrated here using the Driftwood Blouse, however it will work for any raglan-style top with a gathered sleeve.

Materials
- Pattern pieces (Sleeve, Top Front, and Top Back)
- Measuring tape
- Paper for tracing pattern pieces
- Pencil
- Ruler
- Scissors
- Tape
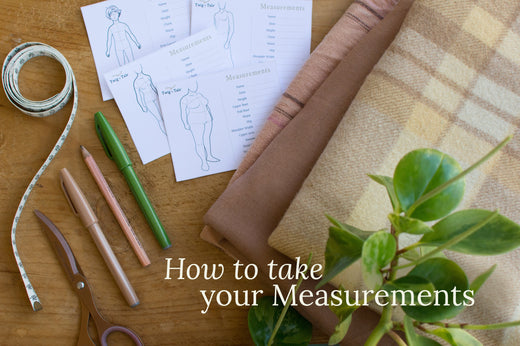
Measure arm
If your upper arm is more than four sizes larger than your selected size, you will need to do an upper arm adjustment. For the sleeve to be comfortable, it should have a minimum of 2 1/2" (6.5cm) of ease.
In the finished garment measurements chart, find the Upper Arm Finished Measurement for your selected size.
Then, measure your upper arm. Subtract your actual arm measurement from the finished upper arm measurement from the chart. If the difference is less than 2 1/2" (6.5cm), you will need to adjust the pattern.
Example:
Let's say our sewist checks the finished garment measurement chart and finds that the finished upper arm measurement is 22" (56cm) for their size.
Using a measuring tape, they find that their actual upper arm measurement is 21 1/4" (54cm).
The difference between the finished garment and the arm measurement is 3/4" (2cm).
In order to achieve 2 1/2" (6.5cm) of ease, our sample sewist will have to add 1 3/4" (4.5cm) to the sleeve.
Since the adjustment will be split between the front and the back of the sleeve pattern piece, we will divide the adjustment amount in half.
Adjust pattern
1. Using the Sleeve pattern piece, Draw two lines from the lower curve of the underarms to the cut line at the hem. Cut these sections away from the sleeve.

2. Extend the raglan lines on each side of the sleeve - add more length than the total adjustment amount.

3. Mark in 3/8" (1cm) stitching lines on the cut sleeve sections and the sleeve raglan seams. Move the cut out sleeve sections out from the sleeve by the amount of your adjustment (use half the total amount per side).
Then, swing the hem back in so that it meets the original hem. Slide the cut section down until the top edge meets the extended raglan line. Double check the gap is still the correct measurement and tape in place.

4. Blend the armhole seams.

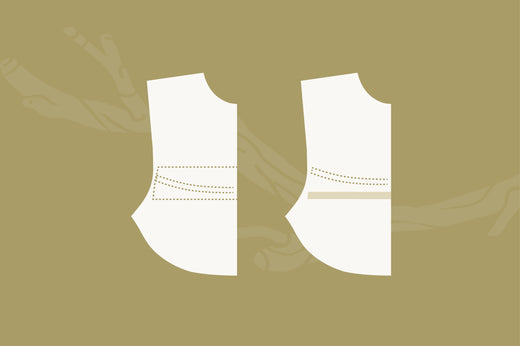
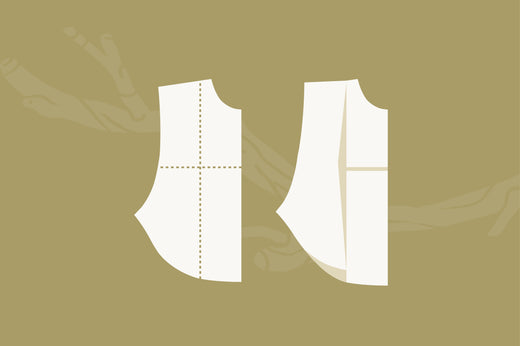
5. Using the Back Body pattern piece, draw a line parallel to the fold line. Then, at a 90 degree angle to the first line, draw a line into the side seam. Cut both lines. Repeat for the Front Body pattern piece.

6. Move away the cut out section away from the pattern piece and extend the raglan line down, adding more length than the total adjustment amount.

7. Mark the stitching line 3/8" (1cm) from the armhole edge on the cut out section and the body pieces (Front and Back).
Move the cut out section away from the body and slide it down until it sits flush with the line extended from the Back Body piece in step 2. Measure the gap between the stitching lines on both pieces. Adjust the cut out section until the distance matches the amount of your adjustment (remember that this is half the total adjustment amount). Tape in place. Repeat for the Front Body piece.

8. Blend the side seams from the waist notch to the underarm.

Use your newly-adjusted pattern pieces to cut and sew the blouse as described in the tutorial.
Remember, we always recommend sewing a muslin to test out your pattern adjustment before cutting into your fancy fabric.
If you have any questions about sewing or adjusting Twig + Tale patterns, please feel free to join us at the Twig + Tale Facebook group.

Read more about pattern adjustments here:
- Fuller Bust Adjustment for a Gathered-Neck Raglan Top
- How to Make and A-Line Driftwood Dress
- Fuller Abdomen Adjustment for a Non-Darted Top
- Fuller Seat Adjustment for Tops


