Taking accurate body measurements is the foundation for sewing comfortable, well-fitting garments. It may be tempting to skip this step and make a guess, but we guarantee you’ll be happier with your finished garment if you take the time to measure properly.
Each Twig + Tale pattern includes a measuring guide with an illustrated diagram (croquis) that demonstrates where and how to take body measurements. We’ve also put together this handy photo guide that includes plenty of additional tips for getting accurate measurements.
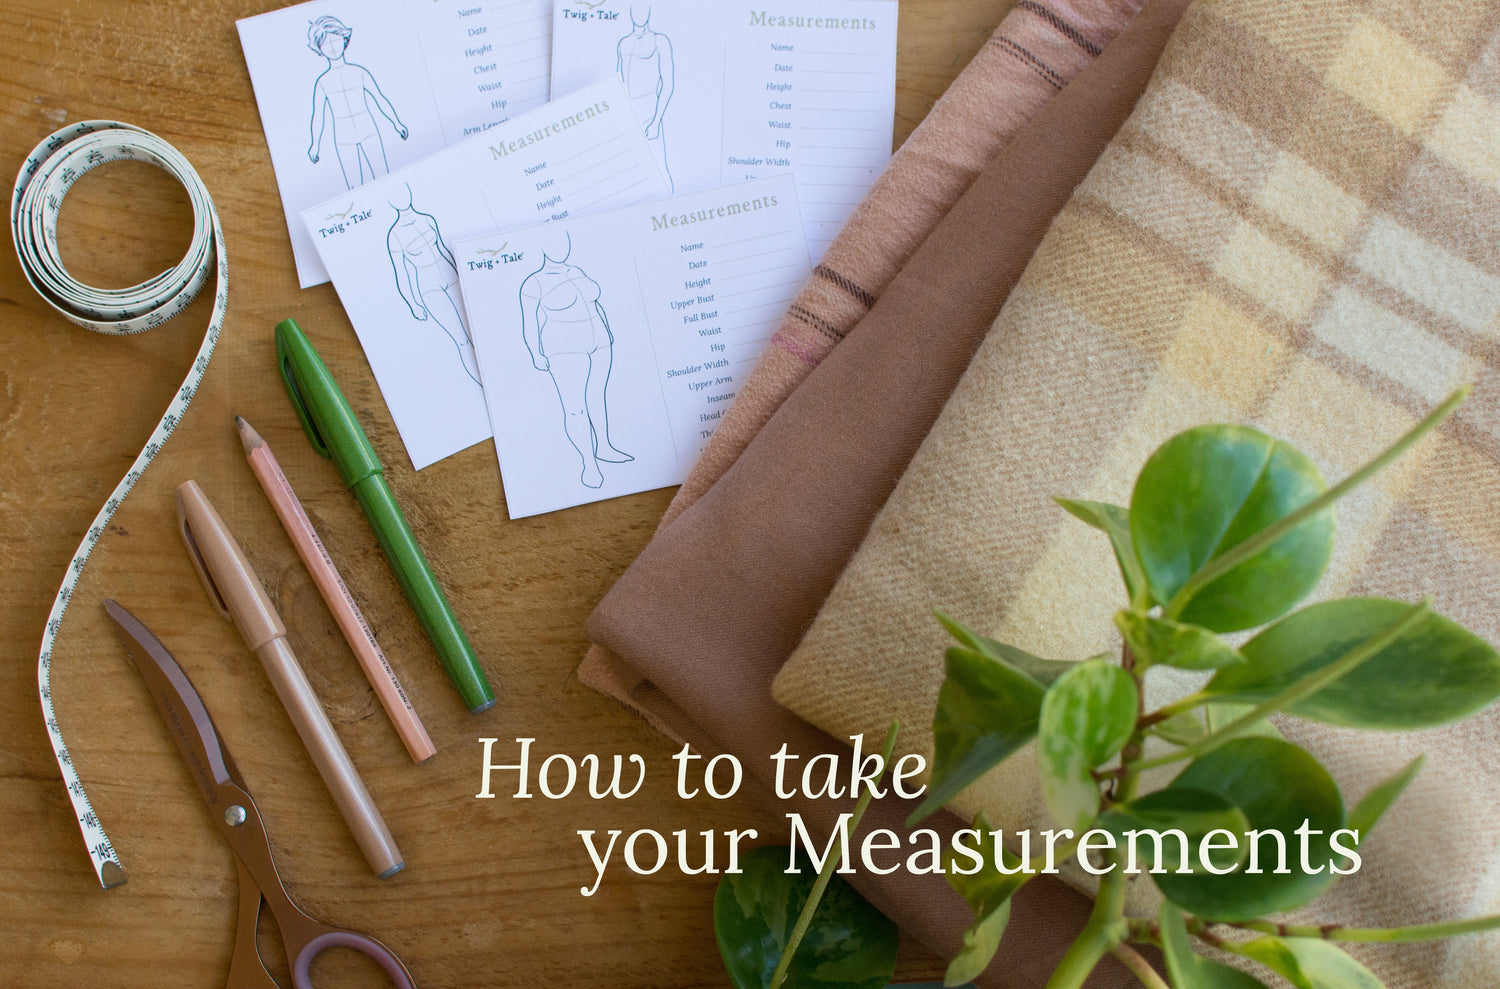
Tools & Materials
Gather some basic tools and materials to record your measurements- measuring tape
-
scrap paper
- pen/pencil
- scissors
Measurement List
Measure
Measure yourself against your skin where possible, or over the intended underwear you plan to wear with your completed garment project. Stand as relaxed as you can, with your arms hanging down at each side where possible. If measuring yourself, you may find it helpful to do so in front of a mirror.
To gain the most accurate measurements you can, make sure that your tape measure is flat against your skin or undergarments, checking that there's no twists or bumps in the tape. Try your best to not distort the tape nor pull it tightly, as you will risk stretching it and skewing your measurements. You want the tape to sit against your skin, and not too firm as to compress your body in any way.
It is best to have a helper measure you so that you can remain as relaxed as possible, with your body in its natural posture. The photos in this guide have primarily been taken for best results when no helper is available and you must take them on your own.
Its a good rule of thumb to check each measurement at least three times, to get a good average and to make sure you've measured correctly.
Twig + Tale® offer free pocket measurement cards to record your measurements and keep them as a reference! You can find them for all T+T size ranges via the Try Us Free link at the top of the website!
Upper Bust
Bring the tape measure under your arms at the armpit, ensuring the tape is horizontal across your back, and around your body.
Your tape measure should form a loop parallel to the floor, so take care to make sure it is not sagging at any point. It is fine the tape is very slightly angled up - as you can see in these photos - in order to clear the top of your bust. The front of the tape should sit just above where your breasts start to fill out.
Make sure you can breathe easily in a normal, relaxed way.
Though important to measure yourself with the undergarments you intend to wear with the finished project, some may find taking this measurement without a bra or other chest support will give them a more accurate result for fitting the neck line and shoulders. As such, you may find it helpful to record both for comparison.

Full Bust/Chest
Measure over the fullest part of your bust/chest. For many, this will be the nipple area, though every body is different. Ensure the measuring tape is horizontal as possible around your body, in a loop parallel to the floor.
Take extra care to make sure it is smooth and straight across your back, as any sagging will give you an inaccurate result.

Shoulder Width
This measurement requires the assistance of a helper. Horizontally measure straight across your back, armpit to armpit, at the level where the crease at the top of your arm joins your back.

If you are on your own then you may get an approximate measurement by standing up against a wall. Please note that, again, this will give you an approximation and your measurement may skew to larger than your actual Twig + Tale® shoulder width:
Taking a mark making tool that will easily wash off the surface, mark where the two bony points of your shoulders are, known as your acromion bones, where the shoulder bones meet the top of your upper arm bones. Then step back and measure the distance between your marks.
Bicep
Measure around the widest part of both of your upper arms, with your arm as relaxed as possible. Try not to flex! This measurement will most likely be closer to your armpits than your elbow, around 2" (5cm) down from the top of your armpit - though all bodies are different.
If a helper is measuring you, let your arms relax down by your sides while this measurement is being taken.
You may additionally take a flexed bicep measurement, so that you may compare that with the Finished Garment measurements chart and to make sure you will have enough ease in a sleeve for comfort.

Sleeve Length
This measurement can be done on your own, but is much easier with an assistant.
Position the end of the tape measure on the centre of your back neck bone. Then run the tape across and over the top of your shoulder, over the bony part where your shoulder meets your upper arm. Then extend the tape measure down the arm to where you want the sleeve hem to sit at your wrist (or desired sleeve length).

Waist
Make a circle with the tape measure around your torso, and slowly close the circle until it sits at the narrowest point of the waist, i.e. where your body naturally bends. Make sure that you are standing in a relaxed posture, breathing normally.
Some people may find that their waist is not the narrowest point of their torso, so gently bending side to side will help the tape measure find the natural position of your waist.
As with the Upper Bust and Full Bust/Chest measurements, your tape measure should form a loop parallel to the floor, so take care to make sure it is not sagging at any point. This is measurement is generally below the rib cage and around the top of your belly button, but every body is different.

Hip
Measure around the fullest part. Make the tape measure into a circle around the fullest part of the hips and slide it down, easing it out slowly until the tape measure drops off. Just before it drops off is the fullest part. As with previous torso measurements, make sure that the tape measure is parallel to the floor and is not sagging at any point.
You may have to do this several more times than expected to get an accurate measurement.
This measurement is generally in line with your crotch, but every body is different.
Note: If you have an abdominal panniculus (apron stomach) that extends into your hip area, the you should include it in your hip measurement.
If you are making pants or a skirt, and would prefer to wear it positioned underneath instead of over any abdominal panniculus, then measure your hip by running the tape measure under this part of the body when measuring the hip,

Thigh Circumference
Make a circle with the tape measure, parallel to the floor, around the fullest part of the thigh. This is measurement is generally located about 2” (5cm) below the crotch, but every body is different.
You may choose to take this measurement while sitting to obtain the largest measurement for your body. Making a note of both standing and sitting for this measurement can help you make a more educated choice in terms of sizing and required ease when assessing a pattern.

Shoulder Width for Overland (Back)
This measurement can be done alone, but is easier with a helpful assistant.
First find the outer bones of your shoulder, where the shoulders meet the upper arm, known as the Acromion bone. Seek the corner of the Acromion by feeling around at the outer edge of the shoulders. For some, this joint may be further in from the very outer edge as every body is different, but the bony points will still be able to be felt.
Stand in your usual, relaxed posture and measure across your back from the bony point to the bony point.

Shoulder Width for Overland (Front)
This measurement can be done alone, but is easier with a helpful assistant.
As with measuring your shoulder width at the back, find the corners of the acromion bone and measure across your front chest, along your collar bones (clavicles) from bony point to bony point.
You will find the measurement is most accurate if you stand with an erect posture, without any slouching.

Head Circumference
Measure around the head just above the eyebrows, over the hair, keeping the measuring tape level and parallel to the ground.
For some, it may be useful to also take this measurement with your hair worn in its most common style. Especially for those who might always have their hair up, or with a head wrap. This can be especially useful for planning for hood sizes when additional room may be required to accommodate these styles.

Neck & Head Height for Hoods
First find the outer bones of your shoulder, where the shoulders meet the upper arm, known as the Acromion bone. Seek the corner of the Acromion by feeling around at the outer edge of the shoulders. For some, this joint may be further in from the very outer edge as every body is different, but the bony points will still be able to be felt.
Measure from bony point to bony point, over your ears, and the top of your head.
Then divide this measurement by half.

Rise
Using a ribbon, length of elastic or another similar length of tie-able fabric, mark where your natural waist is in the same manner you did when finding your waist measurement above. It will most likely be just at the top of your belly button. Tie the ribbon in place.
Starting at the waist tie at the front, run the measuring tape between your legs, and back up behind you - ending at the waist elastic in the back. This is your full rise measurement.


If you have any questions about taking your measurements, sewing or making adjustments to your Twig + Tale projects, please feel free to join us at the Twig + Tale Facebook group.

Read more checking fit and related resources at the following posts:
- Pocket Measurement Cards
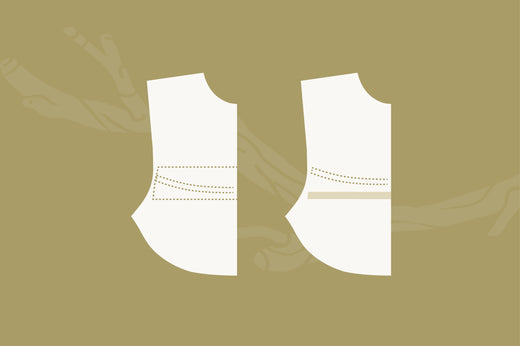
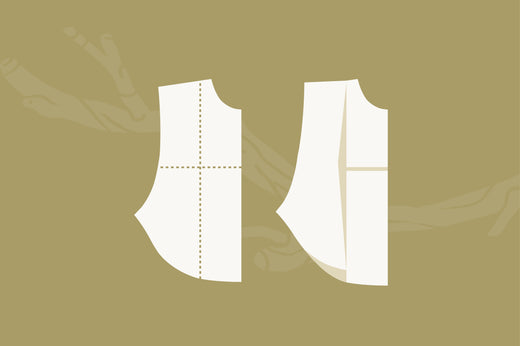
- Measuring for a Good Fit + How to Blend Sizes - Rainhaven Sew-along
- Twig + Tale Size Charts