The Twig + Tale® Cascades Top is a wonderfully drapey garment, with billowing sleeves and hem. With the this style, it is very important to position the waist ties and elastic in a place that is comfortable for you both physically and visually.
In this tutorial, we endeavour to help you locate that perfect position for your body, and how to alter the waist casing positions to move the ties and elastic exactly where you want them.
![]()
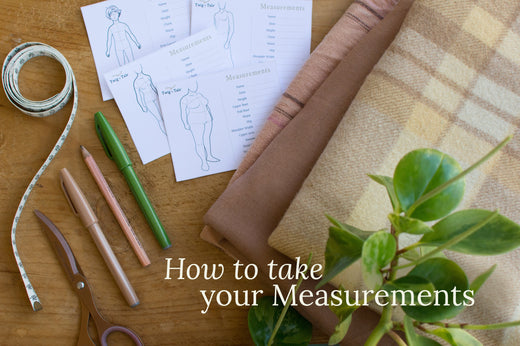
Materials
Gather some basic materials to adjust the pattern pieces:
- Cascades Top Front, Back and Front and Back Casing pattern pieces
- measuring tape
- scrap paper
- tape
- ruler
- pen/pencil
- scissors
Measure
Once you have decided on the size of Cascades Top you intend to make, turn to the Finished Measurements chart in the tutorial. To assist you in positioning the waist casings where you would like them on your body, we have included a Shoulder to Waist measurement for you to compare with your own.
It is easiest to take this measurement on yourself in front of a mirror, wearing your intended undergarments, and a tight layer like a singlet or thermal top.
Loop a string/ribbon around your waist and move it up and down until it is at a position which is comfortable for you. It may be at your natural waist, high waist for an empire line, or somewhere else along your torso. Tie the string/ribbon in place.
Take a measuring tape and position the end on the top of your mid shoulder. Run the tape measure down your body, over the fullest part of your bust to your waist marker string/ribbon. Make a note of this measurement.
Run the tape measure down your torso from your mid shoulder again, this time stopping at the length listed for your base size in the Finished Measurements chart. Mark this position with a pin in your tight top layer, taking care not to pin yourself.
Measure the difference between the pin position and the ribbon position. This is the amount you will need to adjust the casing position on the pattern.
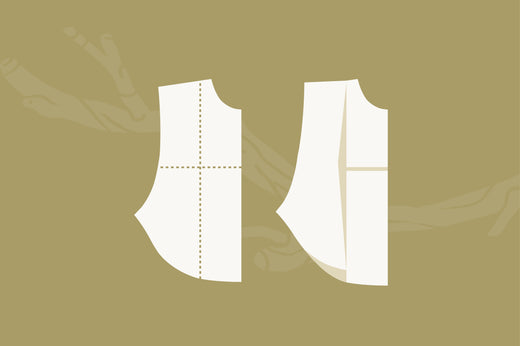
Adjust Pattern Pieces
1. On the Front pattern piece, draw a box from the lengthen/shorten line and around the casing marking.

2. Cut along these lines, and (if using a paper pattern) secure a larger piece of paper behind the pattern pices, to fill in the hole.
3. Slide the box up by the amount needed from your measurement exercise above. In our example we have moved it up 1" (2.5cm).

4. Carefully adjust the end of the casing to be the same distance from the seam as the original pattern (all sizes = 2/3" (1.7cm), then secure the box in its new position.

5. True up the new central fold line, taking note of how much of the box you need to remove/how far the box is away from the new line. Adjust one end of both the Front and Back Casing pieces by the same amount.

6. Repeat steps 1-5 for the Back.
Continue to cut and sew your garment as outlined in the tutorial.
Enjoy wearing your custom fitted top!
![]()
Read more pattern adjustment tutorials here: