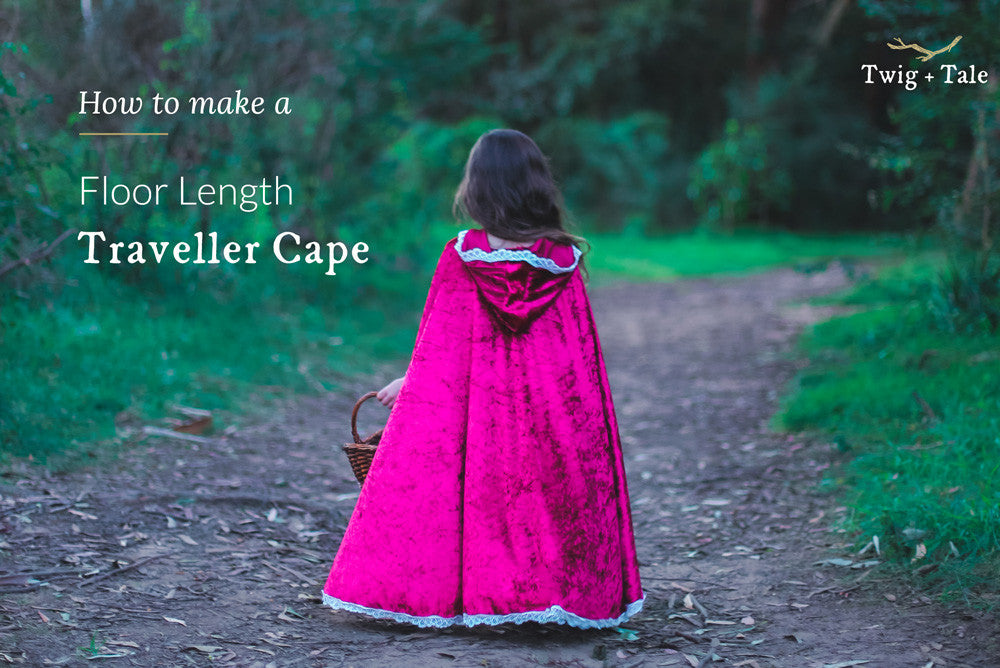
Sometimes you just need the magic and "swish" that only a floor length cape can offer!
Over the years, quite a number of people have asked if the Traveller Cape (or Red Riding Hood Cape, as is it the same pattern) can be lengthened into a floor length cape, and the answer is yes! Here are some simple guidelines on how to do it.


Take your back piece and extend the "centre fold" edge by how long you would like to lengthen it by. This is the red line on the left of the image below.

Then using that same measurement, extend out from the curved hem by the same distance, along the bottom of the hem as shown by the remaining red lines on the illustration above.
Draw in a new hem curve along the bottom of red lines.
Voila! Your new back pattern piece.
Repeat these steps to create the lengthened front piece.
If making a cape for an older child or adult, your newly created piece will be quite wide. You may need to split your back piece into two and have simple seam down the centre of the back piece.
Don't worry this isn't complicated!
Simply add 3/8" (1cm) to the "cut on fold" edge, and then cut two back pieces (a mirrored pair), rather than one complete back piece.
Stitch the two back pieces together using a 3/8" (1cm) seam allowance.
That is all there is to it - once you have cut your new pattern pieces the construction is exactly the same as the regular Traveller Cape.

Then watch and enjoy as imagination takes over!

Gorgeous Images by Natasha Chrismas. See more of her beautiful work on Instagram
Join us in the Twig + Tale Facebook group to ask questions, look for inspiration, and of course to share photos of your lovely T+T creations.


