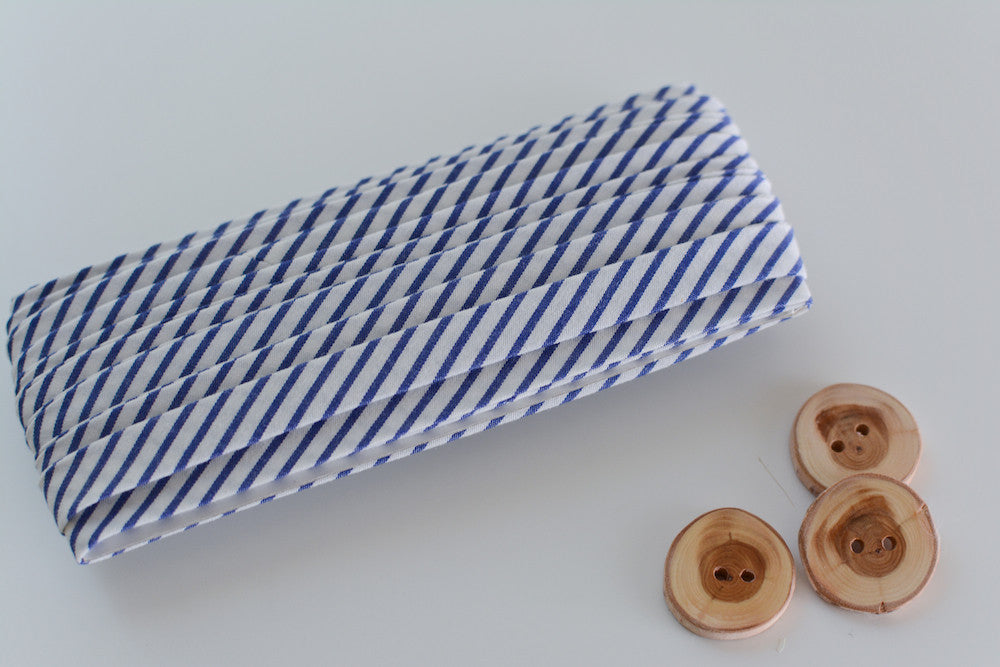
Making your own bias tape from fabric with an interesting print or colour can add a unique detail to your handmade projects. Upcycled dress shirts provide an excellent source of fine-quality fabric, and you'd be surprised at how much bias tape you can make from one shirt!

- A dress shirt
- A ruler
- Scissors
- A rotary cutter and cutting mat (optional)
- A fabric marking pen
- A sewing machine and thread
- A bias tape maker (optional)
- An iron


2. Use a straight edge and a rotary cutter or scissors to trim the back of the shirt into a square. The gridlines on a cutting mat can help you get a perfect square.

3. Fold your square in half diagonally to create a triangle shape. Cut along the fold line to create two triangles. The diagonal line you have just cut is on the bias, meaning that it is at a 45 degree angle to the grain of the fabric. This cut edge will be referred to as the bias edge.

4. In preparation for cutting bias strips, you may choose to fold your triangle in half again, matching up the bias edge from corner to corner. My edges aren't quite lined up in this photo, but you'll want your edges and corners to be lined up precisely. This step is optional, but I find it quicker to cut my strips with the fabric doubled up.

5. Measure from the bias edge and use a fabric pen to mark the width you'd like to cut your bias strip. Remember that bias tape will be folded in four (eg. a 2" strip with result in 1/2" bias tape once it is complete). In this case, I am cutting my strips 1 5/8" wide. If you folded your triangle in half (as in step 4), you will be cutting through two layers of fabric. Use scissors or a rotary cutter to cut your strip.

Here is my first cut strip, unfolded to show the full length:

6. Working from the bias edge, continue measuring and cutting strips. You will be left with two little triangles at the ends that aren't really long enough to use for bias tape. Here is the square of fabric, now cut up into nice bias strips:

7. To join your bias strips lay two strips, aligned at a 90 degree angle as illustrated below. Position the fabric so that the ends overlap by about 1/4" - this will create a little triangle on each end of the overlap. If your fabric has a right side, align the strips so they are right sides together. If you are working with striped fabric, make sure that the stripes align, so that the joins won't be obvious. Pin together, and stitch 1/4" from edge, as indicated by the blue line in the photo.

8. Press the seam open and snip the little triangles so that they are even with the edge. If you aligned your stripes before stitching, the stripes should line up beautifully on the right side of the bias strip. Continue sewing strips together until you have your desired length.


11. Fold the tape in half so that the edges you pressed in will be sandwiched in the middle. The tape will be four layers of fabric thick. Press again over the centre seam you created in Step 9. You just made double-fold bias tape!

12. Feed your fabric through the wide end of the bias tape maker with the wrong side of the fabric up (the side that has the seams from joining the fabric strips together.

13. As you pull the tape through the bias tape maker, it will fold the edges of the fabric in to the centre. As you pull fabric through, press it with your iron.


