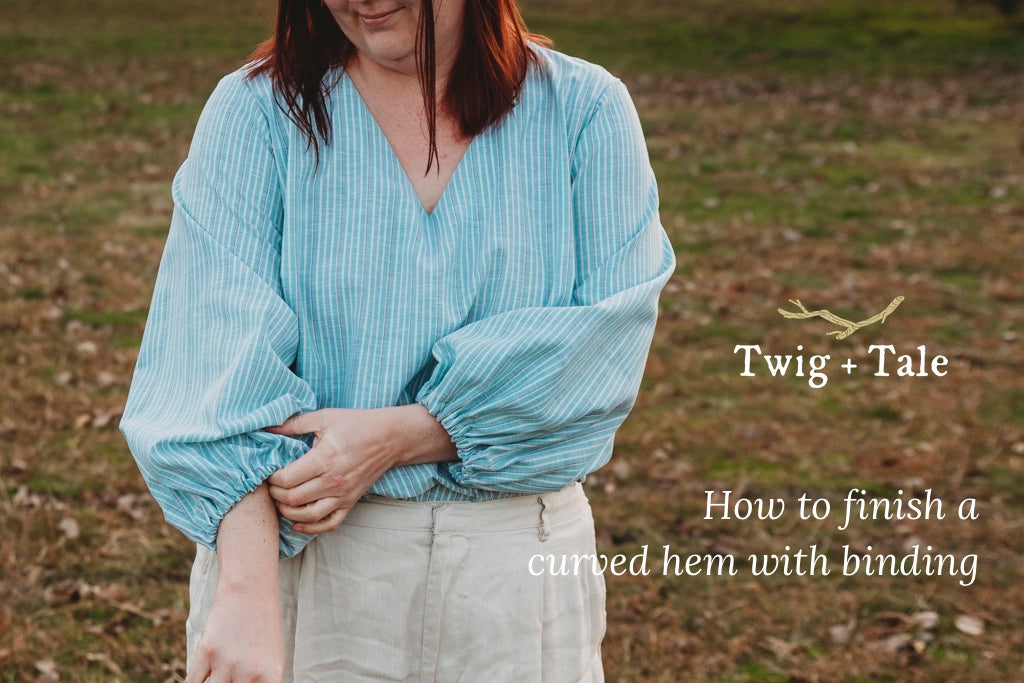
Sometimes, it can be tricky to get a nice, smooth finish when double-folding curved hems - they can pucker or feel bulky at the seams. In this case, we like to use bias binding to finish hems. The binding helps to maintain a smoothly-curved hem, and it can also be used to create a neat channel for elasticated hems. Use a contrast fabric to add a fun finishing detail.
Use this technique to create neat curved hems or elasticated sleeves for the Scenic Top, Vista Top and Sleeve Add-On.

Materials
- Bias binding - learn how to make your own here (you'll need about 4"/10cm more binding than the hem length)
- Measuring tape
Cut the binding on the bias grain to the desired width. We suggest cutting the binding 1 1/4" (3.2cm) for a narrow curved hem and 1 3/4" (3.8cm) for a wider hem or elasticated hem. The wider binding will accommodate 1/4" (6mm) elastic to create an elasticated hem.
Sewing the binding
It is easiest to sew the binding to the hem while the garment is still flat. If working on a sleeve hem, sew the binding to the hem before the sleeve is closed. If woking on the body hem, sew the binding on after sewing one side seam.
1. Memory press one long edge under by 3/8" (1cm), then unfold.

2. Place the binding on the hem edge right sides together, with the flat (unpressed) edge on the hem. Stitch the binding to the hem with a 1/4" (6mm) seam allowance.

3. Flip the binding out and press the hem seam with the seam allowances under the binding.

4. Flatten the memory fold and match the hem seams. Close the hem with the seam allowance specified in the tutorial (for the sleeve you will be sewing the underarm seam, and on the body the side seam). Finish the seam and press.

5. Fold the binding under onto the wrong side of the hem and press the hem with a sliver of the body/sleeve fabric showing on the wrong side so the binding is hidden from the outside. Refold the memory fold under and topstitch 1/8" (3mm) on the top fold.

If you are adding elastic to the hem, leave a hole in the stitching to insert the elastic.

6. For the elasticated hem: cut the elastic to the length required, then thread it into the hem using a safety pin. Join the elastic and distribute the gathers evenly.

7. Close the hole in the stitching.

The bias binding will provide a nice smooth curve for your hem!

Read more Twig + Tale sewing tutorials here:


