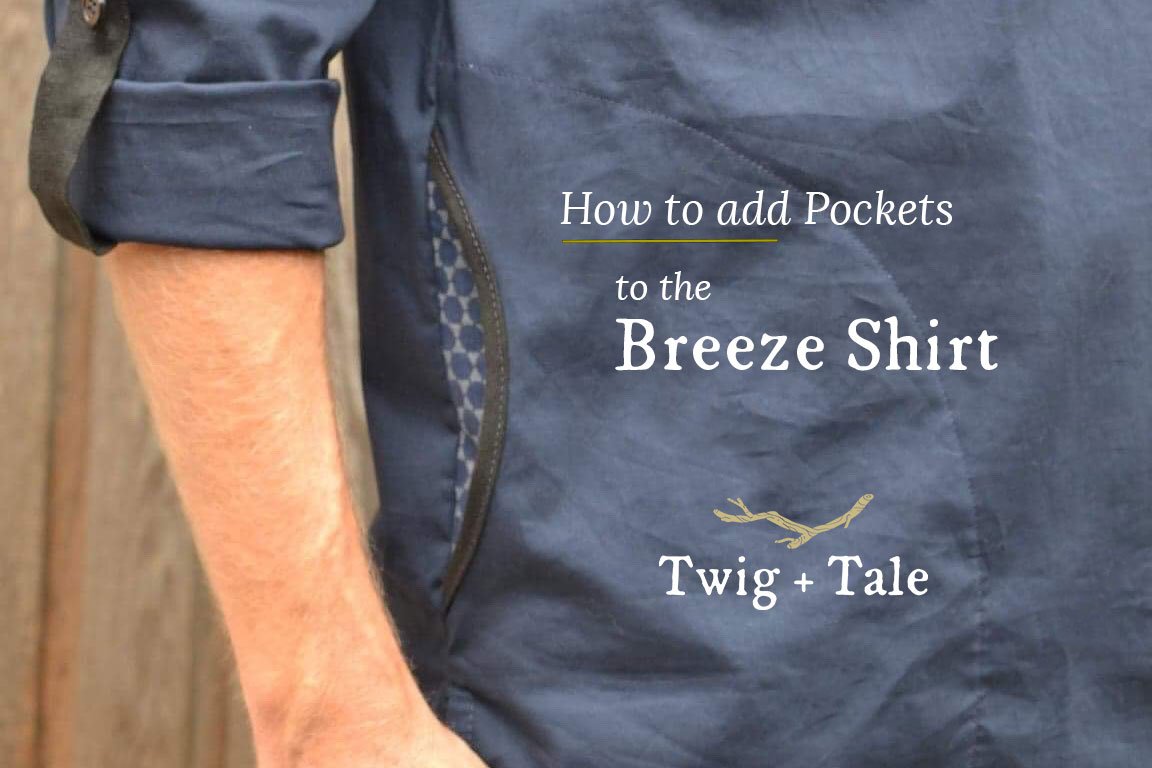
Add side pockets to the Breeze Shirt for Men, Women, or Children with this simple tutorial. The curved pocket openings are perfect for adding a touch of contrasting fabric and add a fun, practical detail to the shirt.

Materials:
- Two extra bias binding strips (you may use the button loop pattern piece from the Breeze)
- CLICK TO DOWNLOAD Pocket pattern pieces for Men's (straight fit), Women's (curved fit) Sizes 0-22, Women's (curved fit) Sizes 14-38, or Children's.
- A bit of extra fabric to cut pocket pieces.
Cutting:
Lay the pocket placement guide over the Front shirt pattern piece to determine the location of the pockets. Cut out the curved crescent shape for the pocket opening from the Front shirt piece only.
Cut two pocket pieces as a mirrored pair. *Note that the shirt-length pocket is straight along the bottom, while the Women's curved hem and tunic pockets are curved around the bottom.
Sewing Instructions:
1. Create two bias binding strips for the pocket openings using the Breeze Shirt button loop instructions from the tutorial.

2. Slip folded binding over the edge of the pocket openings so that the curved raw edge is snugged right up to the inner fold of the binding. Pin in place.

3. Edgestitch binding onto pocket openings. Trim off ends of binding and press.

5. Fold and press the curved edge of the pocket pieces 3/8" (1cm) to the right side of the fabric.
If using the pocket piece for the women's curved hem shirt or the tunic, the pocket piece will be folded over and pressed around the bottom curve of the pocket too.

6. Position the pocket piece so that the right side of the pocket is against the wrong side of the shirt front. Match up the notches on the pocket with the folded edge of the pocket opening binding.

7. Line up the side seam of the front with the side of the pocket. Baste together with a 1/4" (6mm) seam allowance.
The bottom edge of the pocket will be 1 3/5" (4cm) above the bottom edge of the shirt front. The pocket will be caught into the hem when it is folded up without creating too much bulk (except for the curved hem/tunic pocket).

8. With the wrong side up, line up the bottom edge of the pocket so that it is parallel with the bottom edge of the shirt front.
Pin the pocket in place and topstitch 1/8" (3mm) along the curved part of the folded-over pocket edge. Extend the stitching to the edge of the front hem so that the back-stitching will not show on the front.
If sewing the women's curved hem shirt or the tunic, the topstitching will go all the way around the bottom curved edge of the pocket.

This is how it will look from the right side:

Continue sewing the shirt as instructed in the tutorial.

Enjoy your fancy Breeze pockets! Please feel free to join us in the Twig + Tale Facebook group to ask questions, look for inspiration, and of course to share photos of your creations.

Read more about the Breeze Shirt here:
- Introducing the Breeze Shirt for Children
- Introducing the Breeze Shirt for Men and Women
- How to Add Eyelets to the Breeze Shirt
- How to Add a Reverse Contrast Facing to the Breeze Shirt
- The Breeze Shirt: Fabric Recommendations
- How to Sew French Seams
~Cover image by Leanne Steel~


